
DIY Floral Arrangements

So you want to be a florist? Same. Any time I have an occasion that is in need of fresh flowers, I always take the opportunity to make my own arrangements. Each time I do it I get better at it, and what a fun task it is! I made about 10 arrangements for my sister’s baby shower and am smitten with how they turned out.
Here are the tools you’ll need to get started:
A container for the arrangement to sit pretty in.
Something to stabilize the arrangement in the container, i.e. floral foam (seen here), chicken wire, etc.
Sharp kitchen shears and sharp garden pruners
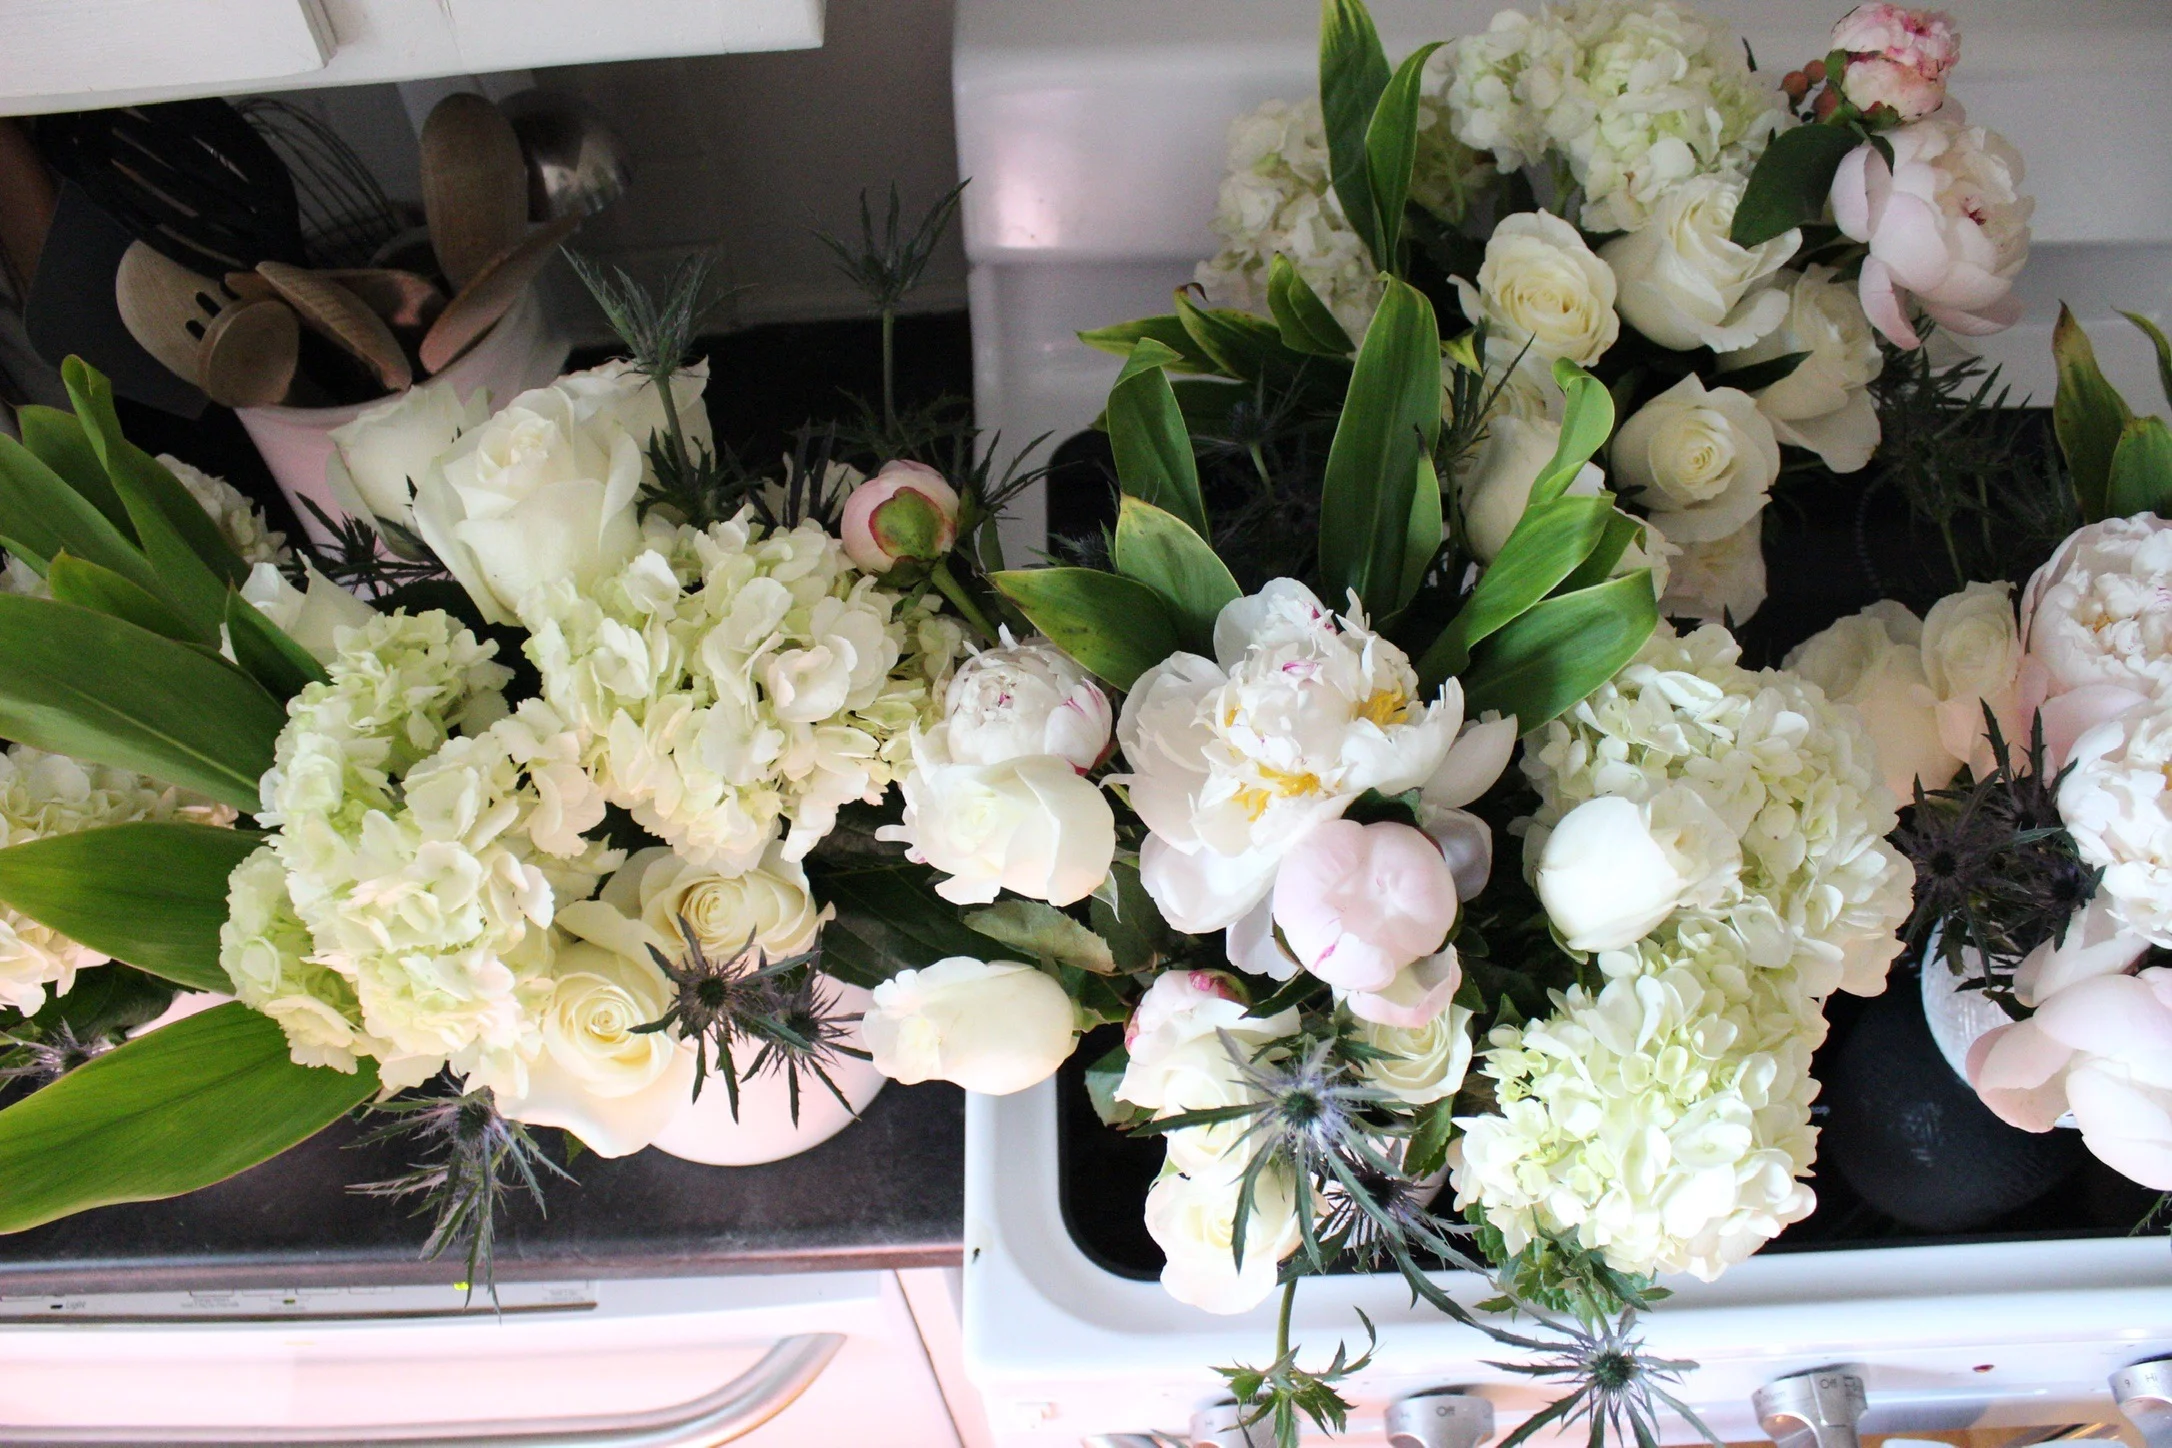
A multitude of fresh flowers; you’ll want greenery, big blooms, medium blooms, smaller blooms, and fillers. For these arrangements I used a leafy green palm for the greenery base, hydrangeas for the big showstopper blooms, peonies for the medium blooms, and white roses for the smaller blooms (even though they were all pretty large after opening up). I also found berries, thistle, and white carnations for filler flowers. I purchased all of these flowers at Trader Joes.

Here’s a step by step on how to put the arrangement together:
The first thing you’ll need to do if you’re using floral foam like I did, is to soak it in water. Let it fill up all the way (you will see the color change from light to dark) and then place it into your container. Before you get started, make sure your foam fits into the container you will be using. If it doesn’t, cut it to fit (I used an old kitchen knife to cut mine).
The second step is to start adding greenery stems to your arrangement. Make sure you cut each stem at an angle so you can pierce the foam with it.

Next, add in the largest blooms you have for the arrangement. In this case, it was white hydrangeas.

Next, add in some of the smaller blooms. I think it looks best when you group the same flowers together in an arrangement. Two or three next to each other makes such a statement.

Keep adding in flowers and filling in gaps. Make sure you remove most of the leaves from the stem you’re using.


Then, add in your filler. I used this pretty blue/purple thistle.


Once your arrangement is full and there are no gaps, and you can no longer see the floral foam, then voila! You did it.

Some of my arrangements were a little tall for the container they were in, and now I know for next time to cut the stems shorter in shorter containers. You live and you learn.
The final step is to toss your clippings into your yard-waste container.
Congratulations! You, my friend, are a DIY florist.
